
Artikel: Guide til at købe og montere greb på køkkenlåger
Guide til at købe og montere greb på køkkenlåger
Der er altid lidt tilløb, når man skal i gang med projekter derhjemme – også når det gælder at skifte greb på køkken- eller garderobedøre. Til gengæld er det en fantastisk følelse, når grebene er færdigmonterede, og dit køkken har fået nyt liv.
Vi har selv skiftet mange greb, og det er ikke så teknisk avanceret, som man skulle tro. Faktisk er det utrolig nemt og tager kun et minuts tid per greb – og så er det klaret i tre til fire enkle trin.
4 trin til at montere greb på køkkenlåger:
-
Mål hulafstanden på dine gamle greb.
-
Alternativt: Forbered dine køkkenlåger, hvis de mangler forborede huller til greb eller beslag.
-
Bor huller i køkkenlågerne.
-
Montér greb på køkkenlågerne og eventuel børnesikring.
Mål hulafstanden på dine gamle greb
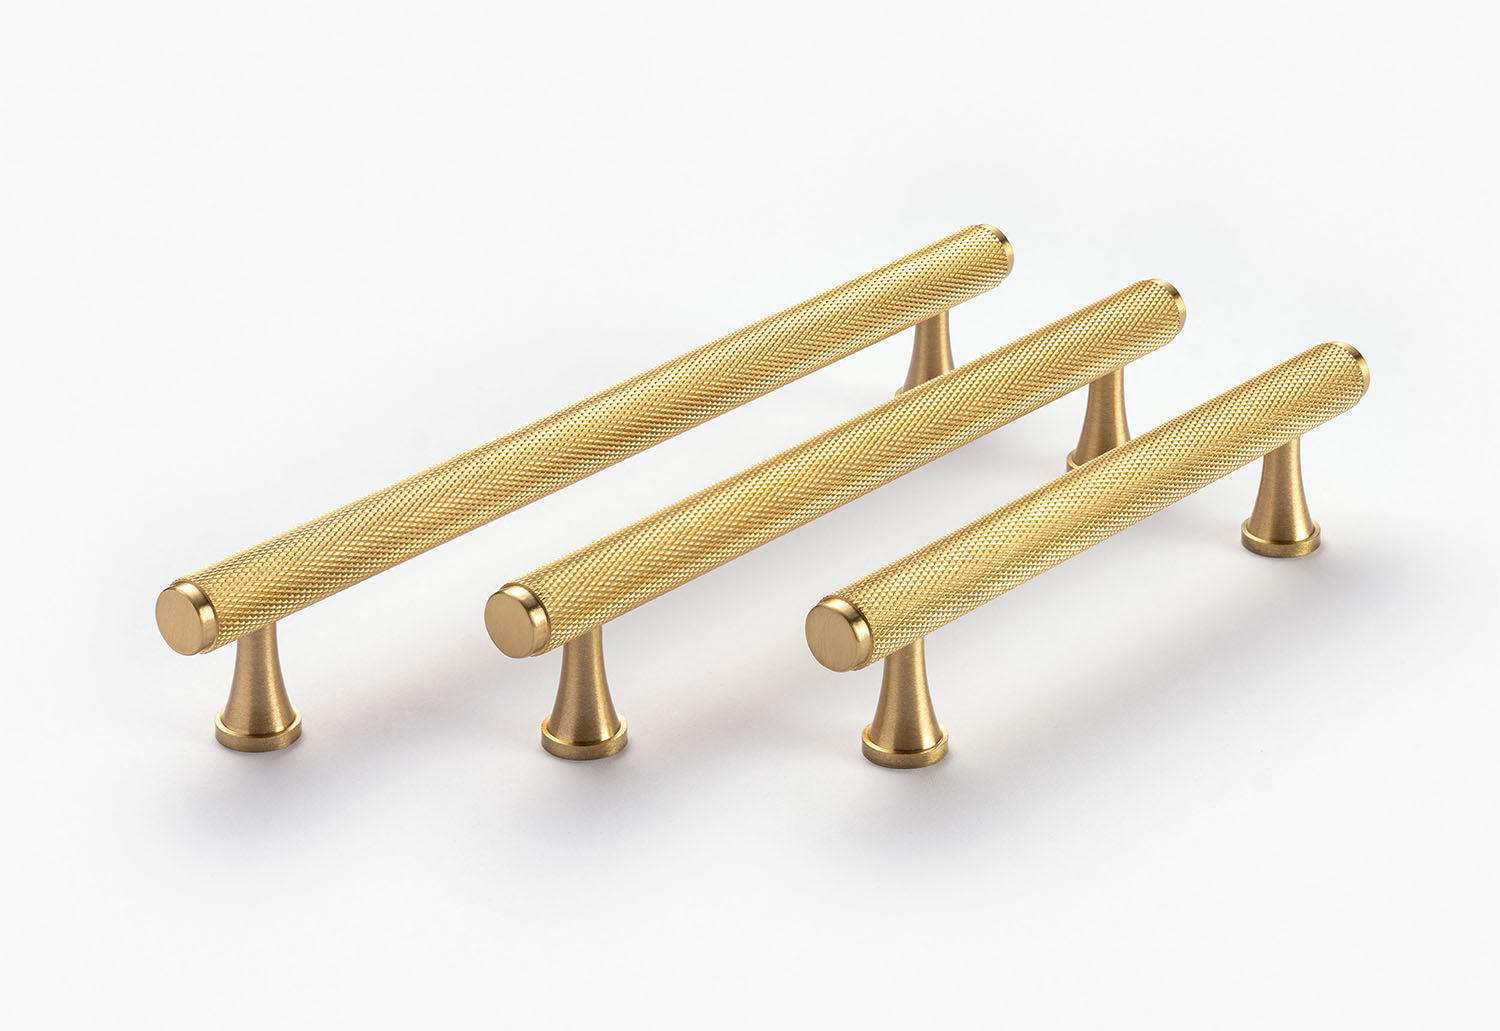
Hvis du allerede har greb på dine køkkenlåger, gælder det om at sikre, at du køber den rigtige størrelse på dine nye greb. I de fleste lande, inklusive Danmark, bruges der i dag standardiserede mål – den såkaldte hulafstand eller CC-mål. CC står for center til center og er afstanden fra det ene hul til det andet. De mest almindelige hulafstande (i mm) er 64, 96, 128, 160, 192 mm og 320 mm. Når det kommer til køkkengreb og greb til garderobeskabe, er 128 mm mest almindelig.
Sørg for, at alle låger har samme afstand, og at der ikke er forskellige størrelser på greb og knopper. Find et målebånd eller en tommestok frem, og mål afstanden mellem de huller, der er boret til grebene. Du behøver ikke måle på millimeteren, for du opdager hurtigt, hvilket af ovenstående mål der er brugt.
Køber du greb hos os på Freya Home, skriver vi altid klart og tydeligt i produktteksten, hvilket mål der er tale om, så du kan være sikker på, at det passer til netop dit køkken, din garderobedør eller dit badeværelse.
Alternativt: Forbered dine køkkenlåger, som mangler forborede huller til greb eller beslag
Har du et nyindkøbt køkken uden forborede huller til greb, eller greb der ikke matcher dine ønsker? Så skal du måle op på dine låger eller døre og lave to huller.
Til det formål er det en god idé at købe en såkaldt boreskabelon, som gør det nemt at måle præcist ud, hvor der skal bores. Den kan købes i velassorterede byggemarkeder, men også hos for eksempel IKEA. Boreskabelonens liste kan placeres langs kanten af lågen eller skuffefronten og gør det lettere at placere grebet helt lige, vandret eller lodret.

Her er et link til IKEAs boreskabelon.
Handler det kun om et enkelt greb, er en skabelon nok ikke nødvendig, men når du skal bore flere huller, er det vigtigt, at de sidder præcis samme sted. Desuden går det betydeligt hurtigere med en boreskabelon.
Bor huller i køkkenlågerne
De fleste greb kræver, at man borer huller i lågerne. Det er nemmest at bruge en almindelig boremaskine med træbor og en beskyttelse – beskyttelsen kan være så enkel som en træplade.
Du finder en god instruktionsvideo, der viser, hvordan man forbereder køkkenlåger, her på Youtube.
Det er egentlig ikke så svært at bore huller – husk bare at måle rigtigt, brug hulafstanden, og beskyt dine køkkenlåger med en træplade, når du borer.
Montér greb på køkkenlågerne og eventuel børnesikring
Til sidst er det tid til at montere de greb, du har købt. Har du købt grebene hos os, medfølger der altid passende skruer, så alt, hvad du behøver, er en almindelig skruetrækker. Har I små børn derhjemme, kan det være en god idé at købe børnesikring til grebet – især til de nederste køkkenlåger, hvis de har skarpe kanter. Der findes flere sider online, som sælger hjørne- og/eller kantbeskyttelse. Homesafety.se er en af de sider, der tilbyder flere produkter på området.
Har du ikke fundet det rette greb endnu? Freya Home giver dig mulighed for at forskønne dit hjem med enkle midler – lidt hverdagsluksus derhjemme.
